How to beat every big bot in Squad Rush
Every stage of Squad Rush ends with a big bot. It marks red lanes on the road where its attacks will land. To beat it, step out of each red lane before the attack lands, then steer back in front of the bot and keep firing until its health bar is empty. There are three kinds of big bot, and stage 12 ends with a big finale in three parts.
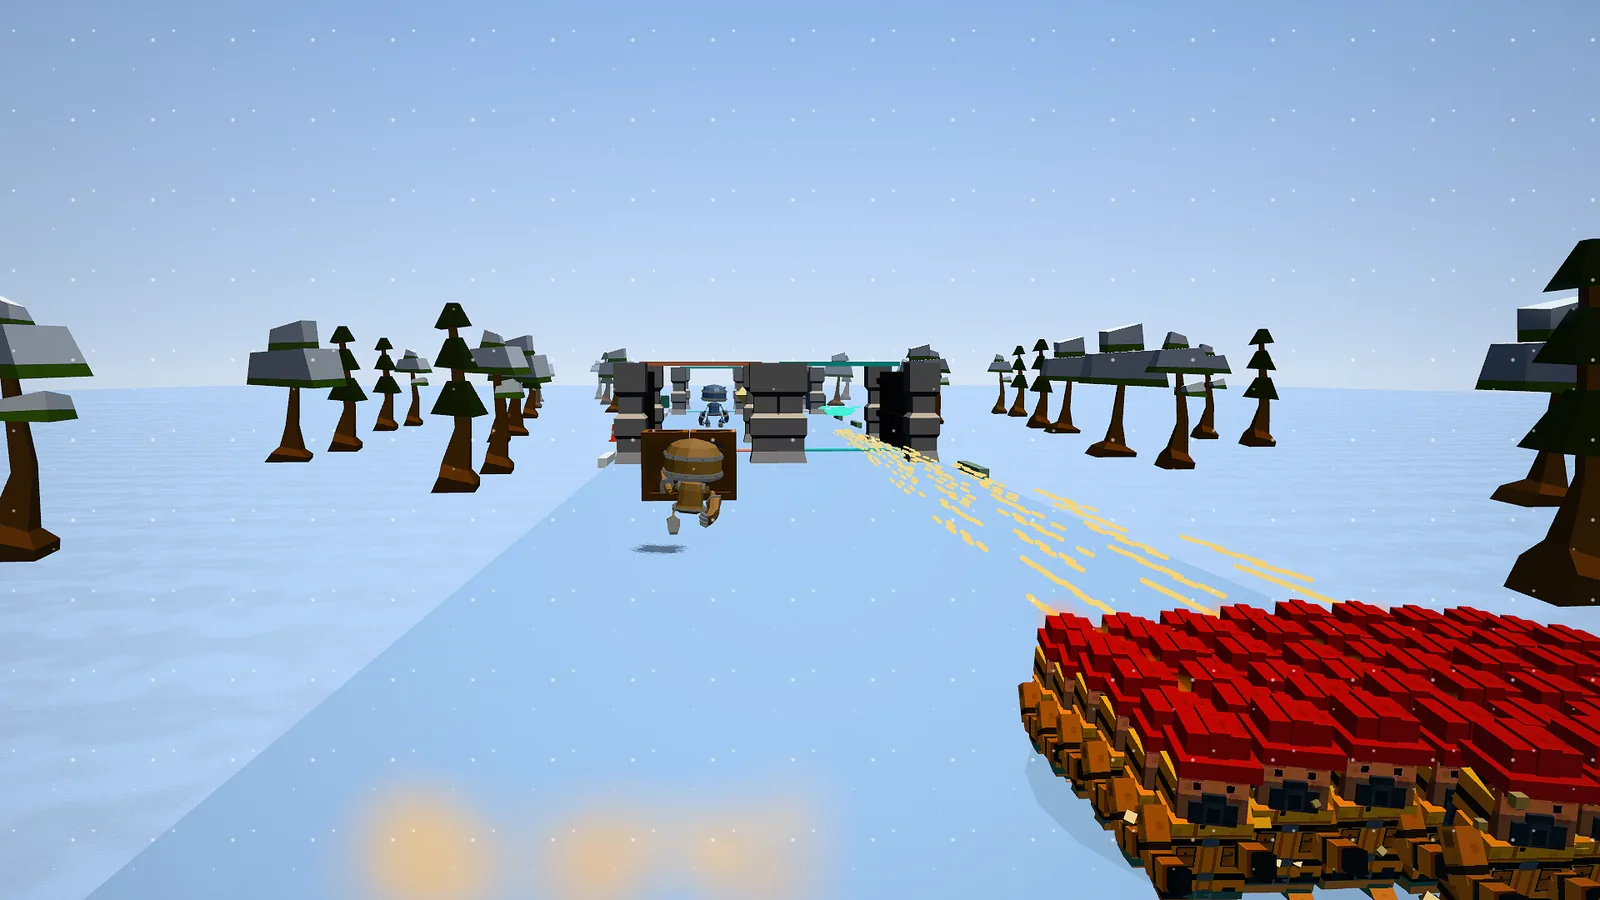
How does a big bot fight work?
When you reach the end of the road, the gates stop and the Big bot health bar appears at the top. Your squad stands still and fires at the bot ahead.
- Your shots only hit when the bot is in front of you. If it walks to the side, follow it.
- Every few seconds it marks a red lane where your squad is standing. About 1.4 seconds later the attack lands. If you are still in the lane, you lose 3 friends.
- There are no gates in the fight, so your squad can't grow. Arrive with as many friends as you can.
- When the health bar is empty, the bot breaks and you win the stage. The results card says "Squad goals!", or "Chapter complete!" at the end of a world.
The three kinds of big bot
The game calls them all "Big bot", but they fight in three different ways.
| Kind | Stages | What it does | How to beat it |
|---|---|---|---|
| The stander | 1, 2, 5, 9 | Stays in the middle. Marks one red lane where you are, every 3 seconds | Step to the side, then step back in front of it and fire |
| The walker | 3, 4, 7, 10 | Walks from side to side. Marks the lane where you are and a second lane on the far side of the road, every 3 seconds | Find the safe space between the two lanes, and follow the bot with your shots |
| The charger | 6, 8, 11 | Stays in the middle. Marks wider red lanes, a bit more often: every 2⅓ seconds | Move early, and use the Narrow column so a small step is enough |
"Stander", "walker" and "charger" are this guide's names, to tell them apart.
How tough is each big bot?
The game shows the health as a bar, not a number. These hidden numbers come from the game's code and show how much damage each big bot can take.
| Stage | Big bot | Health |
|---|---|---|
| 1 First Light | Stander | 1,880 |
| 2 Open the Road | Stander | 2,060 |
| 3 Across the Greenway | Walker | 2,240 |
| 4 The Greenway Warden | Walker | 3,400 |
| 5 Into Sunstone | Stander | 2,600 |
| 6 The Long Convoy | Charger | 2,780 |
| 7 Hold the Pass | Walker | 2,960 |
| 8 Sunstone Stronghold | Charger | 4,400 |
| 9 Cold Front | Stander | 3,320 |
| 10 Whiteout Rescue | Walker | 3,500 |
| 11 The Last Crossing | Charger | 3,680 |
| 12 Heart of Frostline | Final core | 2,800, then 3,200, then 3,800 |
Stages 4 and 8 end their world, and their big bots are much tougher than the ones before. Get a few Workshop upgrades before you try them.
Tips for every big bot fight
- Arrive big. Every friend fires, so a squad of 40 breaks the bot about twice as fast as a squad of 20.
- Switch to the Narrow column just before the fight. It needs a smaller step to get out of a red lane.
- Step, don't run. A short step out of the lane is enough. Then come straight back in front of the bot.
- Don't bring Flame. Flame can't reach the big bot. The game switches you to another blaster and says "Boss ahead · ranged weapon ready". Rapid is a strong choice here. See the blasters page.
- Too hard? Spend your coins on Stronger blasters and Starting squad in the Workshop, then press Try again. See the Workshop, coins and stars.
Stage 12: the Heart of Frostline finale
Stage 12, Heart of Frostline, ends with the Final core. It has three parts. The top of the screen shows which part you are in, like "Final core · 1/3 · Shield network · Core shielded".
| Part | Name | Goal on screen | What happens |
|---|---|---|---|
| 1 | Shield network | "Destroy all three shield relays." | Three robots with the sign SHIELD RELAY stand on the left, middle and right. The core can't be hurt until all three are down. The screen counts them: "1 / 3 shield towers down". |
| 2 | The last rescue | "Let the recruits cross. Stop the crowd." | A rescue with the door. Let the gold recruits reach you, then close the door on the bots. The core stays shielded until the rescue is over. |
| 3 | Core overload | "Dodge the charge lanes. Finish the core." | The core moves from side to side and marks two lanes at a time, more often than before. Follow it and dodge. |
When the shield is down, the screen says "Core open!" and your shots hurt the core.
At the start of each part, the core's health bar fills up again, and your squad gets help: it goes up to at least 8, and parts 2 and 3 also give you 4 more friends. The screen says "Saved spot! A retry starts here".
What if you lose in the finale?
You don't have to run the whole road again. The results card shows Retry this phase: "You start again at this part of the big bot fight, with the same blasters. Your coins are already saved." You start the part with the squad and blasters you had when it began. Restart the stage starts from the beginning of the road instead.
A retried part can't win the Dodge every hit star. To get that star in stage 12, win it from the start without a hit.
What happens when you win?
The screen says "Frostline is free." and shows the three worlds as safe. Press Continue for the ending. It shows your Campaign stars out of 36 and your times, with the buttons Chase all 36 stars, Replay the campaign, Credits and Main menu. After that, the title screen has a View the ending button.
See also
- Robots, crates and red lanes: more on red lanes.
- Doors, rescues, convoys and last stands: the door you need in part 2 of the finale.
- All 12 stages: which big bot waits at the end of each stage.
- Back to the Squad Rush guide, or play Squad Rush.


